Welcome ROCmommas, ROCpoppas, and Friends!

Have fun with your kids - that's what it's all about. If you're looking for fun places to go in Rochester, NY (ROC), awesome
crafts to make, and yummy treats to bake with your kids - as well as some ideas for Date Nights - then you've come to the
right place. Welcome to ROCmomma. Happy reading, and please share your comments. Thank you!
Showing posts with label easy crafts for kids. Show all posts

Tuesday, July 2, 2013

Backyard Summer Camp: In Our Neighborhood Week

We hope you have been enjoying the Backyard Summer Camp series so far. In case you've missed them, be sure to check out Wacky Sports Week, Under the Sea Week, and Outer Space Week.

This particular theme makes me want to sing the Sesame Street song "Who Are the People in Your Neighborhood?" (they're the people that you meet each day!)

In our suburban neighborhood, we tend to drive everywhere so my kids miss out on walking through town. This theme week gives us an opportunity to explore our community in some new ways, and I think the kids will be excited about them all.


In Our Neighborhood

Active Play
  • ·      Make a neighborhood out of various sized cardboard boxes or even empty, clean milk cartons; kids can paint/decorate them or just use their imaginations. Set up a school, some houses, a post office, a store, etc.
  • ·      Play cops & robbers (tag)
  • ·      Draw a neighborhood on the driveway with sidewalk chalk; have kids ride their bikes, trikes, or scooters around the neighborhood. Be sure to include stop signs!

Here are some people in our neighborhood

Quiet Play
  • ·      Make a map of the route from home to school (or to day care or to Grandma’s house, etc.)
  • ·      Make a collage about your neighborhood (safety scissors, paper, glue sticks, local magazines and newspapers, crayons)
  • ·      Make a LEGO city or town
  • ·      Make buildings using Play-Doh
  • ·      Read stories about neighborhoods/cities/your town
  • ·      Write a story together about your favorite things to do in your neighborhood. Let kids illustrate.

Our LEGO City

Field Trips
  • ·      Take a neighborhood walk. Ask kids to observe using their five senses. Record in a journal for them, or let the kids write and draw about what they see, hear, smell, touch, and taste. For the “taste” part, a stop at an ice cream shop just may be necessary.
  • ·      Make a Park Passport listing the neighborhood parks. Stamp their passport every time you visit one of the parks during In Our Neighborhood Week - or during this summer.
  • ·      Go to the library for books about neighborhoods: “Where Do I Live” by Neil Chesanow, “Me On the Map” by Joan Sweeney, “Be My Neighbor” by Maya Ajmera, “Grandpa’s Corner Store” by Dyanne DiSalvo-Ryan, “As the Crow Flies: A First Book of Map” by Gail Hartman, “The Listening Walk” by Paul Showers, “City Beats: A Hip Hoppy Pigeon Poem” by S. Kelly Rammell,  “Next Stop: Grand Central” by Maira Kalman, or just about any Berenstain Bears book (there are tons about different aspects of and people in the community).
  • ·      Go to a town event (parade, music night, movie night, etc.)


Enjoy your In Our Neighborhood Week! As always, thanks for reading.

Wednesday, May 1, 2013

Turn Last Year's Sunblock into Play Dough

Have you been Spring Cleaning? If you have come across any expired sunblock or lotions, or a half-used bottle of conditioner, save them. You can now put them to good use and keep the kiddos busy. At least for a few minutes.

A few days ago, I came across a recipe on Pinterest for ice cream dough from the Play Create Explore blog. It seemed easy enough: 1 part conditioner and 2 parts corn starch. The dough can be colored and scented to look and smell like ice cream, and kids can make pretend ice cream sundaes.

We made the dough and had a blast with it yesterday, but we found other uses rather than making faux sundaes. Then this morning, my three-year-old asked if we could make more messy stuff. Rather than use up more of my conditioner, I looked through the bathroom closet and found a tube of baby lotion from 2007. We experimented with that with success. As long as you keep the 2:1 ratio, this basic recipe will bring new life to most creamy, expired toiletries.  

Here's a closer look at this activity. First, we took this project outside and mixed the Ice Cream Dough:
Ice Cream Dough

1/2 c. corn starch
1 c. conditioner (any brand; we used Nature's Gate)

Simply mix the ingredients until they are fully incorporated and you have dough. You may add a few drops of food coloring and/or flavor extracts to make colored and/or scented dough. This dough will dry out faster than the store-bought kind; be sure to place in a plastic baggie or container immediately after playing.

NOTE: ICE CREAM DOUGH IS FOR PLAY ONLY. DO NOT LET THE KIDS EAT IT! Hopefully that goes without saying.

If you are concerned about using the measuring cup from your kitchen for sunblock or conditioner, there is an easy solution: make your own.

Fill a measuring cup with 1/4 cup of water and pour that into a disposable clear plastic cup. Use permanent marker to draw the 1/4-cup line. Add another 1/4 cup of water to the plastic cup; mark the 1/2-cup line. Keep going until you have the 3/4-cup and 1-cup lines marked. Voila! Instant measuring cup for messy backyard fun.
You may want to make two cups while you're at it so you'll have one for dry and one for wet ingredients. 

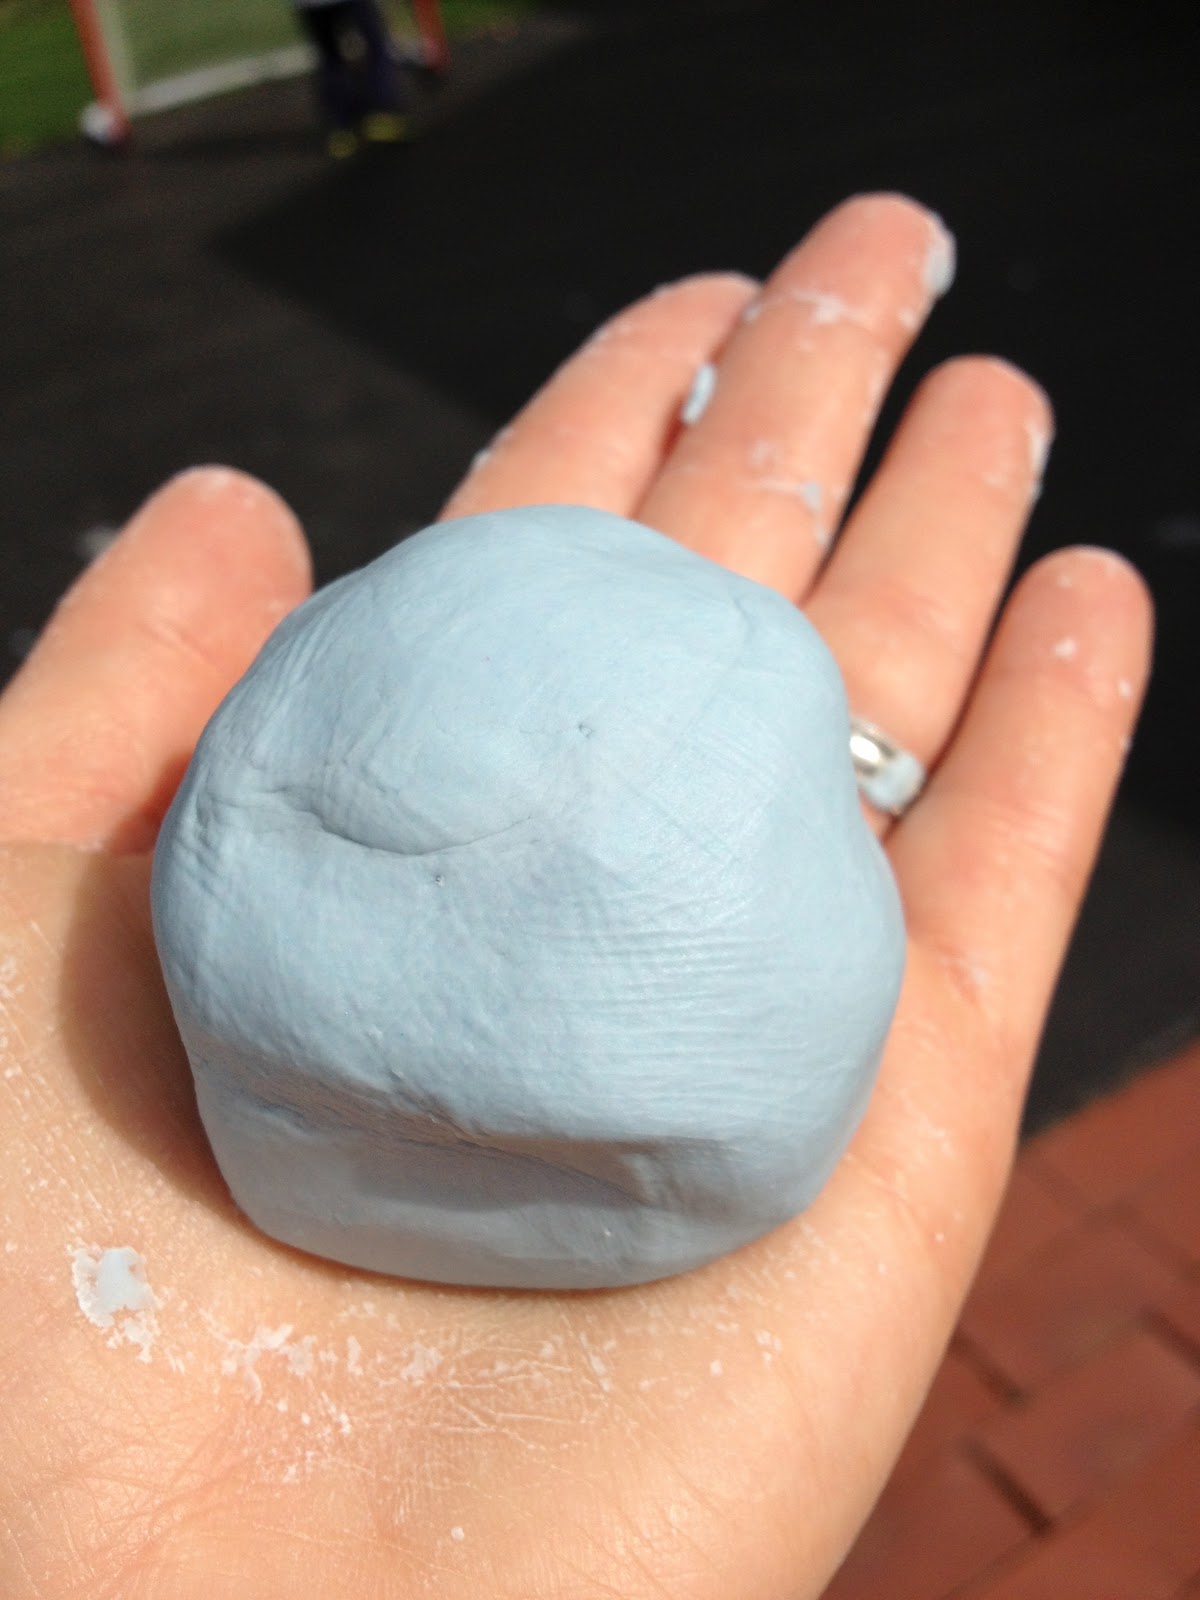
The kids chose to add blue food coloring and raspberry extract to our dough. It smelled so good and was soft and smooth.
While the original intent of the dough was to make pretend ice cream sundaes, my boys had other uses in mind. My five-year-old played hockey with balls of ice cream dough.

My three-year-old had a blast making balls of dough and either rolling them down the slide, or throwing them at the slide to watch them "go splat." 

Mixing a second batch of dough, this time with old baby lotion and cornstarch.
I hope you and your kids have fun with this simple dough recipe. Please Post a Comment and let us know what new uses your kids found for the dough. Or, let us know your favorite scent for the dough! As always, thanks for reading.


Tuesday, February 5, 2013

Toilet-Paper Tube Snowman Craft

Yes, it's almost Valentine's Day. Chances are, if you are making crafts with your kids you are probably making hearts and cupids. But not our family. No. My boys wanted to make snowmen.

Since there is merely a sprinkling of snow left on the ground (no complaints), we made crafty snowpeople indoors. I found this idea through Pinterest on the JT Photography site.
Here is a look at the materials you will need.
MATERIALS FOR EACH SNOWPERSON:
  • Toilet paper tube 
  • White paper, cut to 4 1/2" x 6"
  • Pipe cleaner, cut to 4"
  • 2 pom poms
  • 2 google eyes
  • Orange foam sheet or construction paper to cut nose (approximately 1" long and about 1/2" wide at the base)
  • Ribbon, cut to 12"
  • 3 small buttons (or sequins)
  • Cotton balls
  • Paper plate or other base (other ideas: repurpose a shoe box, shirt box, or even a cereal box)
  • Glue stick, white craft glue, and large glue dots
  • Scissors
INSTRUCTIONS:
Apply glue stick to the edges of the paper, line up the toilet paper tube with one short edge, then roll to cover the tube with paper. You may need to add more glue stick to seal the edge. Use scissors to trim the top or bottom, if necessary.
Apply two glue dots to the top of your toilet paper tube - on opposite sides - and secure the pipe cleaner for the ear muffs.
Adhere a pom pom on each side to cover the ends of the pipe cleaner. Some of each glue dot should still be exposed around the pipe cleaner, and the pom poms will stick to that.
Use glue dots to adhere two google eyes. Then use glue stick to adhere a nose. Next, lay the ribbon on your crafting space and place the tube in the center. Swipe some glue stick across the center of the tube and tie a double-knot with the ribbon, using the glue to secure it in place. Trim the ends of the ribbon with scissors, if necessary.
Secure three buttons onto your snowperson with glue stick.
Next cover a paper plate with craft glue
Place the snowperson in the center, and add cotton balls around it to cover the plate.
We had so much fun making these yesterday, the boys are already asking to make them again today. I guess since it will be an early Spring, we should get all of the winter crafts in now.
I hope you have fun making some snow people. As always, thanks for reading.

Thursday, October 4, 2012

Make Your Own "Scare Case"

Welcome to our Scare Case...our Flight of Scares...our Fright of Stares! Whichever name you prefer, this simple Halloween craft looks spooky and awesome. You can make it with items you already have at home, and a Martha-level of creativity is not required. My five-year-old helped cut out the black circles for the pupils, and both he and my two-year-old glued the eyes together and helped hang them. It's a fun after-school project!


Here's what you'll need:
  • construction paper - 2 sheets of same color, per pair of eyes; plus white and black
  • scissors
  • glue sticks
  • masking tape or painters tape to hang them up
1. First, cut out your eyes. I placed two sheets of the same color together, so it's less cutting, and to get two matching eyes. You can make them fancy, if you'd like.
Or make simple ovals (loosely fold the paper in quarters before cutting).
Or, just about any shaped eyes you can imagine.
2. Next, fold a sheet of white paper in thirds, widthwise, and then in half, lengthwise, to get six rectangles. I planned on using ovals for two of the sets of eyes, and a unique shape for the third set. So, I cut away two of the rectangles.
Using the section with four, fold them again and cut the ovals. Take the section with two, fold again and cut the unique shapes.
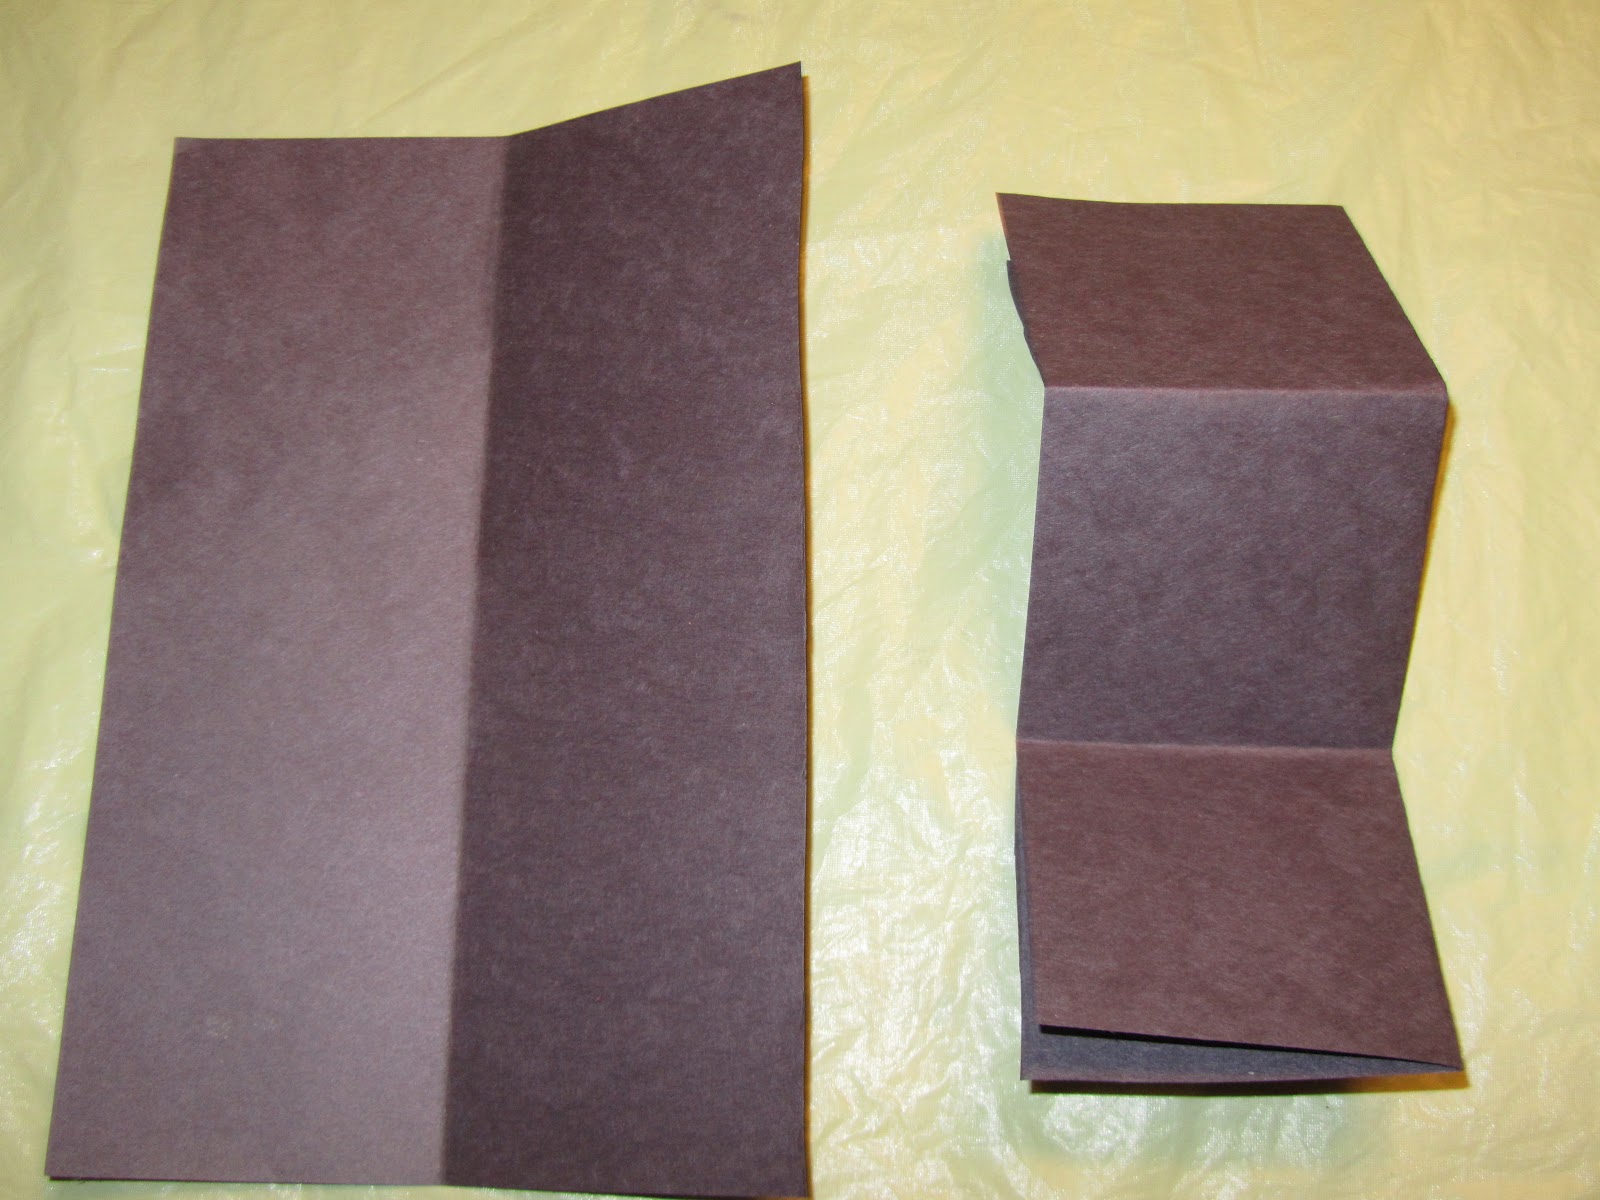
3. Fold a sheet of black paper into quarters, widthwise, and cut along the center fold. Take one half of the black paper, fold along the crease, and then fold into thirds. You should have six squares. Keep the squares folded and cut out circles for the pupils.
4. Match up your pieces: 2 colored eyes, 2 whites, 2 black pupils.
5. Create a work station for each child with their paper pieces and a glue stick.
6. Get gluing!

7. Attach masking tape or painters tape to the back and create your Scare Case! (or Flight of Scares, or Fright of Stares...which name do you like best? Post a Comment and let us know.)
My kids had a blast making these yesterday, and I've already been informed by my five-year-old that we will be making more after school today.

Have fun decorating your home, classroom, or cubicle with these fun, spooky eyes! As always, thanks for reading.

Thursday, May 10, 2012

Last-Minute, Simple & Cute Mother's Day Gifts (Perfect for Grandma!)

Did the middle of May sneak up on you, too? One minute we're shoveling snow, and the next minute it's 80 degrees out. Oh wait! That was just last month. Maybe that's why it doesn't truly feel like we should be making plans and wrapping presents for Mother's Day just yet. Ah, presents. It's easy to find a great present for some moms, and it's a nightmare for others.

The best way around this gift gauntlet is to have or adopt children. From the moment you are expecting, all Mother's Day presents for Grandma are automatic no-brainers. Framed ultrasound photos, framed hand prints, framed photos of the kid(s), framed artwork created by the kid(s). The possibilities are endless. Just walk through Michael's, AC Moore, or JoAnn's, and you're likely to find something the kids can make for your mom.

Below are five kid-tested, mother-approved, SIMPLE ideas for the Grandmas. I promise, you do not have to be a Martha Stewart-level crafter for any of these projects.

Some ideas require photos of the kid(s). Unless you print your own, you can upload digital photos to a free photo sharing site such as Shutterfly, then order your prints online for in-store pick up at Target, Walgreens, or CVS. The prints are usually ready within a few hours. So easy!

1. Finger Painting 2-in-1
This was our Mother's Day idea two years ago. First, you'll need some frames with two 5x7 openings. Then, set up a finger painting session for the kid(s). Worried about the mess? Go outside. Set up a table outside with an old tablecloth. Lay out a piece of poster paper, pour finger paints in a few plastic bowls,  take off their shirts (or turn them inside out), and keep the camera snapping. Once their masterpiece is dry, cut out 5x7 sections to include in the frames along with a photo of the fun.
2. Photo & Saying Collage
I don't want to post this year's project, just in case any of the Grandmas are reading along. But here is a similar idea for a 12x12 framed collage. You'll need:

  • Recent 4x6 photo of the kid(s)
  • 12x12 scrapbook paper (or cut a 12x12 square from wrapping paper, an old gift bag, or even a shopping bag)
  • Assorted patterned papers (or use old greeting cards, magazines, wrapping paper, etc.)
  • Solid-colored paper 
  • glue stick, tape runner, and/or foam squares (pop dots, glue dots, Dimensionals, etc.)
  • ruler and scissors, or paper trimmer
  • markers
  • 12x12 frame (available at Michael's, ACMoore, Target, etc.)
First, center the photo on your 12x12 paper and adhere it with the tape runner or a glue stick. Then, cut your patterned paper and solid paper into 2x2 squares. You'll need about 22 squares total; I used 6 solid and 16 patterned.

Using the solid paper, ask the kids what they like best about Grandma or what they like to do with Grandma and write those down. If the kids are old enough, they can do the writing. Examples: Grandma's cookies; Going to the park with Grandma; Going to the big zoo with Grandma; Talking on the phone with Grandma; Big hugs from Grandma; We love you Grandma!
Start arranging the squares. We had two rows of 5 squares on the top and bottom, plus two squares to the left and two squares to the right of the photo. Attach foam squares to the back of the hand-written squares and have your kids stick them on the page. The raised squares make the sayings POP off the page.
 
Using the glue stick (easier for little kids) or tape runner (less messy), adhere the rest of the squares to the page.

 When you're done, pop your masterpiece into the frame and you're ready to wrap it up.
3. Clay Magnets
NOTE: The only drawback to this idea is that you need at least two to three days due to drying time.

Day 1: Make your shapes. We used Crayola Air-Dry Clay, but you could also use Crayola Model Magic or even homemade play dough. Grab some cookie cutters or Play Doh shape cutters and have fun!

Day 2: Once your shapes have dried, paint them. We used kid-friendly washable paint.

Day 3: Secure magnetic strips to the backs of your shapes using a glue gun. Unfortunately, the adhesive on the magnetic strips does not stick well to the clay. If you don't have a glue gun, I highly recommend making the $10 investment. Otherwise, white craft glue will work...it just requires additional drying time. We found some cute tins at Target for $1 (in the bins at the front of the store; I call them the Dollar Bins but I'm not sure that's the official title), add some tissue paper, and they're ready for the Grandmas!

4. Recordable Books 
Last year, we bought recordable books from Hallmark. The instructions are simple to record the kids reading each page (you record one page at a time, so it's easy to go back and re-record when necessary). Then Grandma can listen to their sweet little voices "read" the story any time she likes.

5. Recordable Photo Frames
A variation on the previous idea, we have also given recordable photo frames as gifts for the Grandmas, and they have all been very well received. Have the kids practice a few times, then record the greeting. You can always re-record it, although sometimes an "outtake" is better. We were recording one for my mom last year and our four-year-old was clear, but our two-year-old just babbled. We couldn't understand him, but it was so cute and hilarious that we just had to leave it as is.

Whatever gifts you decide to make (or buy), I hope you all have a wonderful Mother's Day weekend. As always, thanks for reading! And if you have a crafty Mother's Day idea to share, please Post a Comment. Thanks. 


Blogging tips