Welcome ROCmommas, ROCpoppas, and Friends!

Have fun with your kids - that's what it's all about. If you're looking for fun places to go in Rochester, NY (ROC), awesome
crafts to make, and yummy treats to bake with your kids - as well as some ideas for Date Nights - then you've come to the
right place. Welcome to ROCmomma. Happy reading, and please share your comments. Thank you!
Showing posts with label activities for preschoolers. Show all posts

Wednesday, April 30, 2014

Another Fun, Easy, No-Prep Scavenger Hunt

I must admit: my kids tend to like doing the same activities over and over. And I'm okay with that. We love scavenger hunts around here (check out these three) and today was no exception.

Technically, it is Spring. But this sure is turning out to be one rainy season. We hope that means lots of flowers from these April showers, but until we can enjoy the outdoors again, we will keep up the hunts!

This afternoon began with a typical indoor obstacle course, and then my four-year-old wanted "a list to find stuff." Click the link below to print out a free, ready-to-go, no-preparation-required, super-fun scavenger hunt.
Free Printable: All-Star Scavenger Hunt

The items are all generic enough to do in just about any household. Of course, you can help your kiddo interpret any items as needed. For example, "A star" could be an item in the shape of a star or an item with a star on it. It's up to you.

If your kids like this scavenger hunt, check out three more! Again, these are free printables and there is no preparation required. Simply print it out, grab a pencil, and you're ready to go.

I hope you and your kids have fun with this scavenger hunt…and hopefully the sun will come out tomorrow so we can play outside. As always, thanks for reading!

Monday, March 10, 2014

Three Easy, No-Prep, Super-Fun Scavenger Hunts

We are big on scavenger hunts lately! My four-year-old asks me daily, "Can we make a list and find stuff?" That would be a scavenger hunt.

Last month, we stayed at a house in Lake Placid with a few other families (11 adults, 8 kids ages 1-8). We try to get the kids out of the house during the day, but once the sun goes down it's cold…so I even brought a scavenger hunt there as one of the activities to keep the kids occupied in the house. Worked like a charm.

As you can imagine, we are amassing a variety of scavenger hunt challenges around here. What else would I do but SHARE THEM with the awesome ROCmomma followers?

These are all fairly generic so anyone can use them in just about any home. There are links to print each scavenger hunt page (PDF file) within the captions below.
Free Printable: Super-Fun Scavenger Hunt
Free Printable: AWESOME Scavenger Hunt
Free Printable: Extreme Scavenger Hunt Challenge!

Looking for more scavenger hunt variations? Check out these indoor and outdoor ideas on ROCmomma's Time for a Scavenger Hunt.

Have fun using Scavenger Hunts to fill in the last few wintry days before Spring is finally upon us! Hopefully, that's not just wishful thinking. As always, thanks for reading.

Wednesday, May 1, 2013

Turn Last Year's Sunblock into Play Dough

Have you been Spring Cleaning? If you have come across any expired sunblock or lotions, or a half-used bottle of conditioner, save them. You can now put them to good use and keep the kiddos busy. At least for a few minutes.

A few days ago, I came across a recipe on Pinterest for ice cream dough from the Play Create Explore blog. It seemed easy enough: 1 part conditioner and 2 parts corn starch. The dough can be colored and scented to look and smell like ice cream, and kids can make pretend ice cream sundaes.

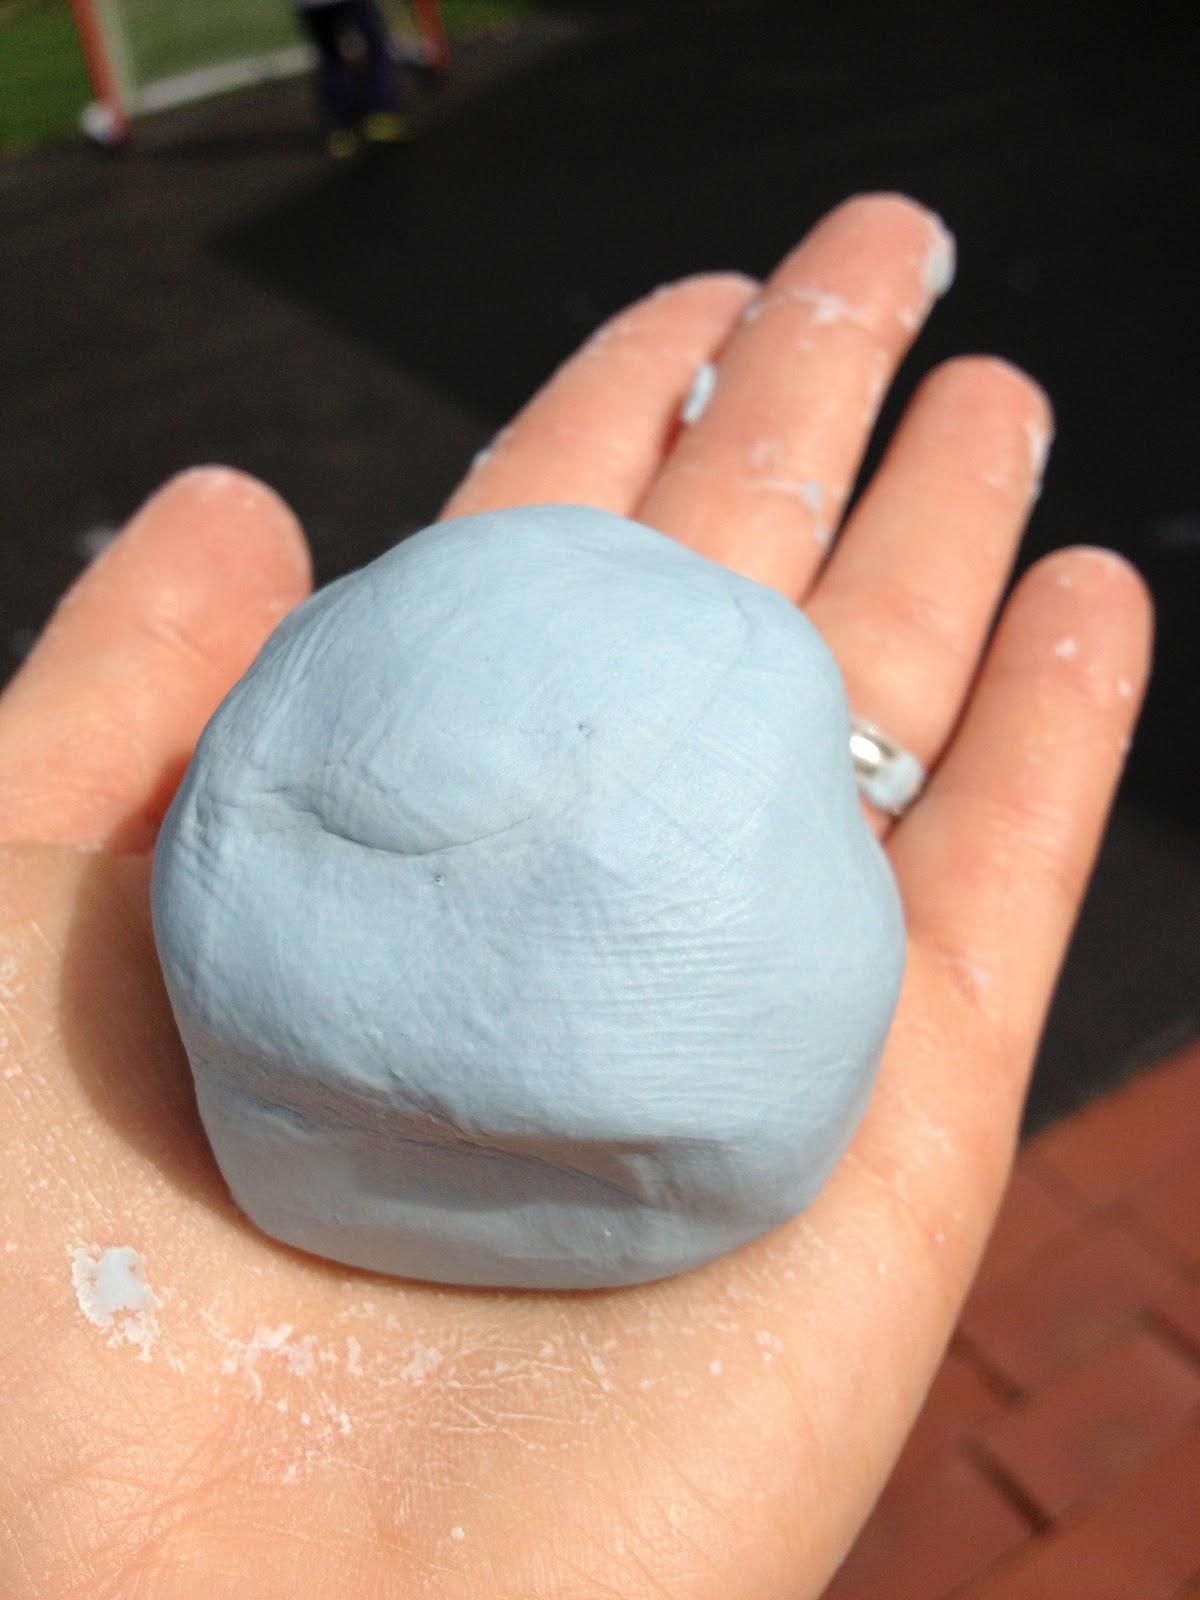
We made the dough and had a blast with it yesterday, but we found other uses rather than making faux sundaes. Then this morning, my three-year-old asked if we could make more messy stuff. Rather than use up more of my conditioner, I looked through the bathroom closet and found a tube of baby lotion from 2007. We experimented with that with success. As long as you keep the 2:1 ratio, this basic recipe will bring new life to most creamy, expired toiletries.  

Here's a closer look at this activity. First, we took this project outside and mixed the Ice Cream Dough:
Ice Cream Dough

1/2 c. corn starch
1 c. conditioner (any brand; we used Nature's Gate)

Simply mix the ingredients until they are fully incorporated and you have dough. You may add a few drops of food coloring and/or flavor extracts to make colored and/or scented dough. This dough will dry out faster than the store-bought kind; be sure to place in a plastic baggie or container immediately after playing.

NOTE: ICE CREAM DOUGH IS FOR PLAY ONLY. DO NOT LET THE KIDS EAT IT! Hopefully that goes without saying.

If you are concerned about using the measuring cup from your kitchen for sunblock or conditioner, there is an easy solution: make your own.

Fill a measuring cup with 1/4 cup of water and pour that into a disposable clear plastic cup. Use permanent marker to draw the 1/4-cup line. Add another 1/4 cup of water to the plastic cup; mark the 1/2-cup line. Keep going until you have the 3/4-cup and 1-cup lines marked. Voila! Instant measuring cup for messy backyard fun.
You may want to make two cups while you're at it so you'll have one for dry and one for wet ingredients. 

The kids chose to add blue food coloring and raspberry extract to our dough. It smelled so good and was soft and smooth.
While the original intent of the dough was to make pretend ice cream sundaes, my boys had other uses in mind. My five-year-old played hockey with balls of ice cream dough.

My three-year-old had a blast making balls of dough and either rolling them down the slide, or throwing them at the slide to watch them "go splat." 

Mixing a second batch of dough, this time with old baby lotion and cornstarch.
I hope you and your kids have fun with this simple dough recipe. Please Post a Comment and let us know what new uses your kids found for the dough. Or, let us know your favorite scent for the dough! As always, thanks for reading.


Thursday, February 28, 2013

St. Patrick's Day Crafts for the Wee Ones

Whenever I run out of ideas for my kids, I check the calendar. Holidays provide days of boredom-busting fun. Making decorations takes up a few afternoons. Then a day to decorate. And after the holiday is over, an afternoon of taking down the decorations. That's a minimum of three no-brainer days. Sweet.

Yesterday we decided to make St. Patrick's Day decorations. I quickly consulted Pinterest and found a rainbow, leprechaun, and pot of gold that all seemed fun and easy. While my older son was at school, I set up our dining room with a plastic tablecloth. Then I gathered materials for our projects:

Gold at the End of the Rainbow

  • paper plates, cut in half
  • washable paints
  • paintbrushes
  • wet wipes for messy hands, spills, etc.
  • craft glue
  • cotton balls, 4-6 per rainbow
  • ribbon, cut into varying lengths (around 4-6 inches each), 4 strands per rainbow
  • tape
  • circles cut from a few sheets of yellow construction paper (TIP: If you have a circle punch for scrapbooking or card-making, it will make this part much easier. I used a 1.5" circle punch.)
  • glue stick

1. Paint a rainbow on the paper-plate half.
2. Use glue to secure cotton balls for the clouds; set aside to dry.
3. Use glue stick to sandwich two gold coins together, with the ribbon in between.
4. When the paint is dry, turn the rainbow over and secure the ribbons to the back with tape.

Leprechaun Faces
  • paper plate, 1 per leprechaun
  • orange, green, black, and yellow construction paper
  • google eyes (or black crayon or marker)
  • glue stick


1. For younger children, cut the pieces ahead of time; older children may cut their own. Use the paper plate as a guide for the size of the beard (orange paper) and the hat (green paper).
2. Use the scraps left from the orange paper to cut a mustache.
3. Use the hat as a guide to cut a strip from the black paper.
4. Cut a square from the yellow paper. Fold in half to cut out the inside, leaving a hollow square for the buckle.
5. Use glue stick to adhere all the pieces to the paper plate. If not using google eyes, draw the eyes with marker or crayon.

Pot O'Gold

  • black construction paper
  • circles cut from a few sheets of yellow construction paper (again, a circle punch helps)
  • glue stick
  • St. Patrick's Day stickers (optional)

1. For younger children, cut the pieces ahead of time; older children may cut their own. Cut a pot from the black paper, using the photo as a guide. Folding the paper in half helps to achieve a symmetrical shape.
2. Use glue stick to adhere gold coins to the top.
3. If desired, use St. Patrick's Day-themed stickers to decorate your pot of gold. I thought that would be fun; my kids were not interested.


Put them all together, and you have a cute scene to make any room more festive for March 17th.

I hope you have fun making these St. Patrick's Day crafts with your kids. As always, thanks for reading.
Blogging tips