Welcome ROCmommas, ROCpoppas, and Friends!

Have fun with your kids - that's what it's all about. If you're looking for fun places to go in Rochester, NY (ROC), awesome
crafts to make, and yummy treats to bake with your kids - as well as some ideas for Date Nights - then you've come to the
right place. Welcome to ROCmomma. Happy reading, and please share your comments. Thank you!
Showing posts with label paper crafts. Show all posts

Thursday, February 28, 2013

St. Patrick's Day Crafts for the Wee Ones

Whenever I run out of ideas for my kids, I check the calendar. Holidays provide days of boredom-busting fun. Making decorations takes up a few afternoons. Then a day to decorate. And after the holiday is over, an afternoon of taking down the decorations. That's a minimum of three no-brainer days. Sweet.

Yesterday we decided to make St. Patrick's Day decorations. I quickly consulted Pinterest and found a rainbow, leprechaun, and pot of gold that all seemed fun and easy. While my older son was at school, I set up our dining room with a plastic tablecloth. Then I gathered materials for our projects:

Gold at the End of the Rainbow

  • paper plates, cut in half
  • washable paints
  • paintbrushes
  • wet wipes for messy hands, spills, etc.
  • craft glue
  • cotton balls, 4-6 per rainbow
  • ribbon, cut into varying lengths (around 4-6 inches each), 4 strands per rainbow
  • tape
  • circles cut from a few sheets of yellow construction paper (TIP: If you have a circle punch for scrapbooking or card-making, it will make this part much easier. I used a 1.5" circle punch.)
  • glue stick

1. Paint a rainbow on the paper-plate half.
2. Use glue to secure cotton balls for the clouds; set aside to dry.
3. Use glue stick to sandwich two gold coins together, with the ribbon in between.
4. When the paint is dry, turn the rainbow over and secure the ribbons to the back with tape.

Leprechaun Faces
  • paper plate, 1 per leprechaun
  • orange, green, black, and yellow construction paper
  • google eyes (or black crayon or marker)
  • glue stick


1. For younger children, cut the pieces ahead of time; older children may cut their own. Use the paper plate as a guide for the size of the beard (orange paper) and the hat (green paper).
2. Use the scraps left from the orange paper to cut a mustache.
3. Use the hat as a guide to cut a strip from the black paper.
4. Cut a square from the yellow paper. Fold in half to cut out the inside, leaving a hollow square for the buckle.
5. Use glue stick to adhere all the pieces to the paper plate. If not using google eyes, draw the eyes with marker or crayon.

Pot O'Gold

  • black construction paper
  • circles cut from a few sheets of yellow construction paper (again, a circle punch helps)
  • glue stick
  • St. Patrick's Day stickers (optional)

1. For younger children, cut the pieces ahead of time; older children may cut their own. Cut a pot from the black paper, using the photo as a guide. Folding the paper in half helps to achieve a symmetrical shape.
2. Use glue stick to adhere gold coins to the top.
3. If desired, use St. Patrick's Day-themed stickers to decorate your pot of gold. I thought that would be fun; my kids were not interested.


Put them all together, and you have a cute scene to make any room more festive for March 17th.

I hope you have fun making these St. Patrick's Day crafts with your kids. As always, thanks for reading.

Thursday, October 4, 2012

Make Your Own "Scare Case"

Welcome to our Scare Case...our Flight of Scares...our Fright of Stares! Whichever name you prefer, this simple Halloween craft looks spooky and awesome. You can make it with items you already have at home, and a Martha-level of creativity is not required. My five-year-old helped cut out the black circles for the pupils, and both he and my two-year-old glued the eyes together and helped hang them. It's a fun after-school project!


Here's what you'll need:
  • construction paper - 2 sheets of same color, per pair of eyes; plus white and black
  • scissors
  • glue sticks
  • masking tape or painters tape to hang them up
1. First, cut out your eyes. I placed two sheets of the same color together, so it's less cutting, and to get two matching eyes. You can make them fancy, if you'd like.
Or make simple ovals (loosely fold the paper in quarters before cutting).
Or, just about any shaped eyes you can imagine.
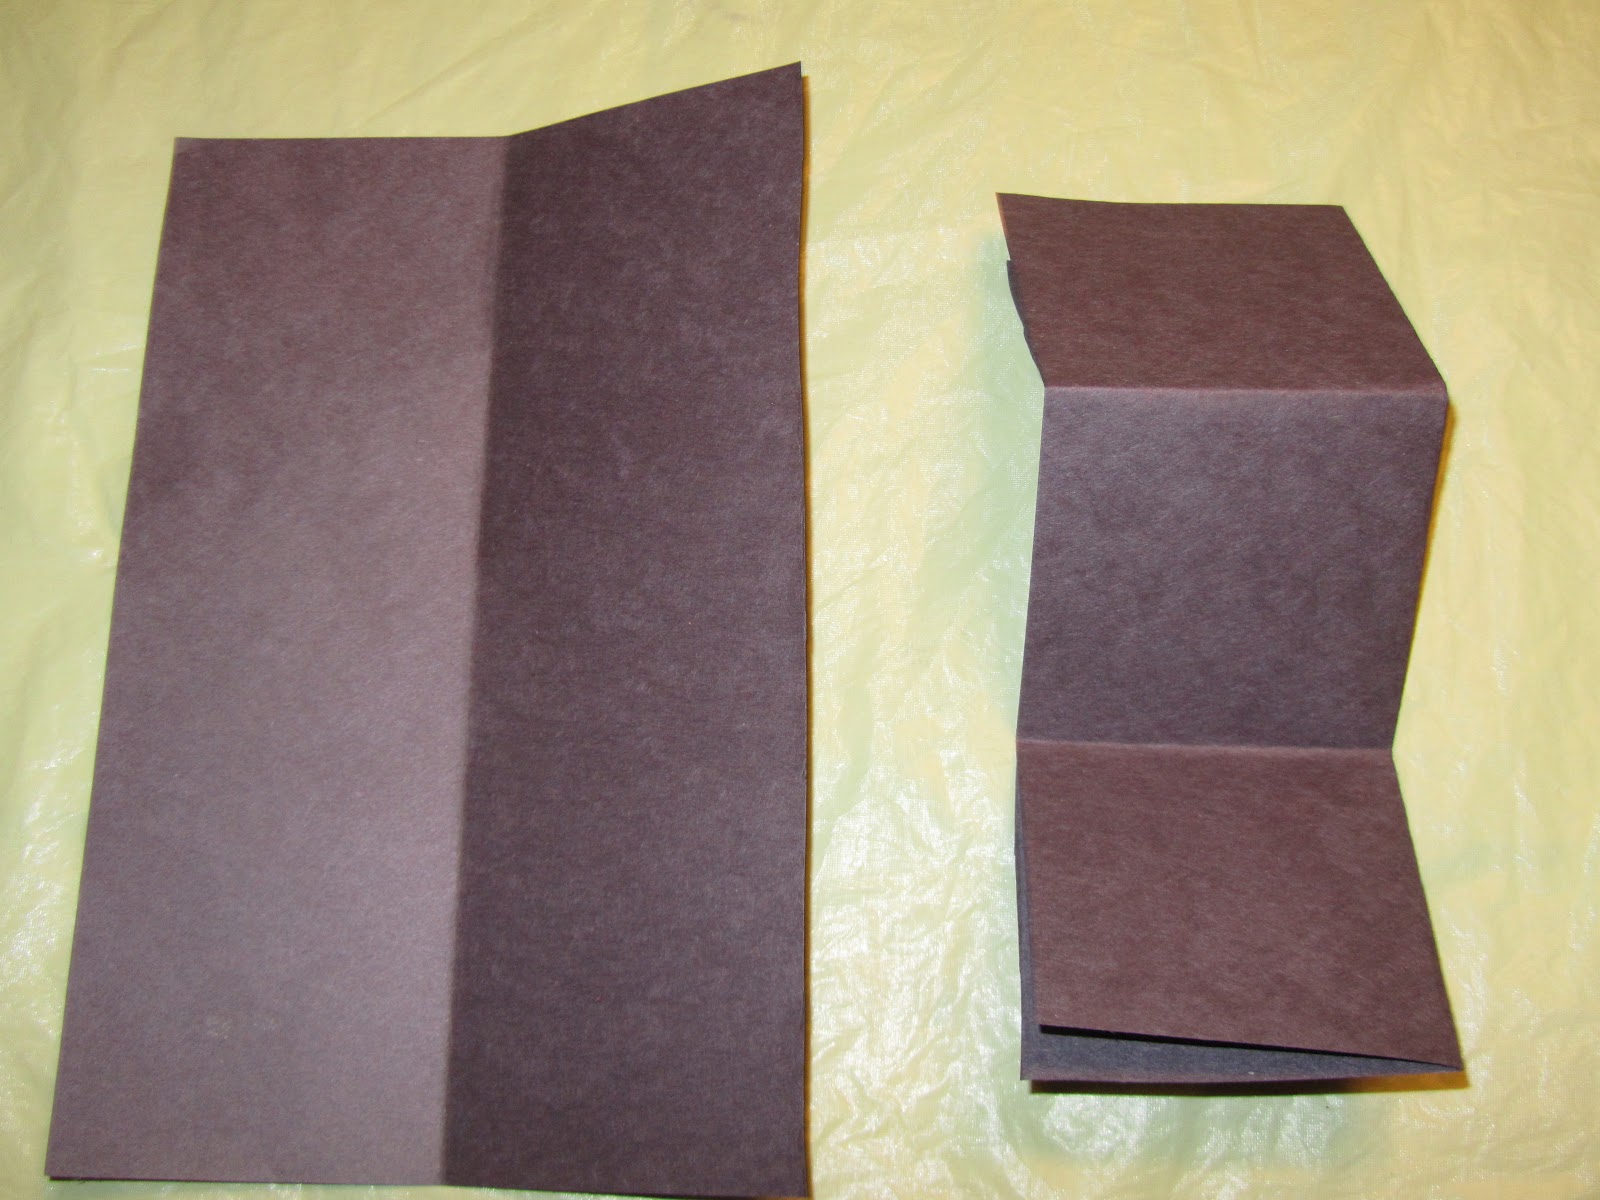
2. Next, fold a sheet of white paper in thirds, widthwise, and then in half, lengthwise, to get six rectangles. I planned on using ovals for two of the sets of eyes, and a unique shape for the third set. So, I cut away two of the rectangles.
Using the section with four, fold them again and cut the ovals. Take the section with two, fold again and cut the unique shapes.
3. Fold a sheet of black paper into quarters, widthwise, and cut along the center fold. Take one half of the black paper, fold along the crease, and then fold into thirds. You should have six squares. Keep the squares folded and cut out circles for the pupils.
4. Match up your pieces: 2 colored eyes, 2 whites, 2 black pupils.
5. Create a work station for each child with their paper pieces and a glue stick.
6. Get gluing!

7. Attach masking tape or painters tape to the back and create your Scare Case! (or Flight of Scares, or Fright of Stares...which name do you like best? Post a Comment and let us know.)
My kids had a blast making these yesterday, and I've already been informed by my five-year-old that we will be making more after school today.

Have fun decorating your home, classroom, or cubicle with these fun, spooky eyes! As always, thanks for reading.
Blogging tips