Welcome ROCmommas, ROCpoppas, and Friends!

Have fun with your kids - that's what it's all about. If you're looking for fun places to go in Rochester, NY (ROC), awesome
crafts to make, and yummy treats to bake with your kids - as well as some ideas for Date Nights - then you've come to the
right place. Welcome to ROCmomma. Happy reading, and please share your comments. Thank you!

Monday, March 3, 2014

ROCstar Moments in Child's Play

Testing out ideas pinned on Pinterest provides an excellent opportunity to teach kids an important lesson: IT IS OKAY TO FAIL.

Failure can even be fun!

The past few days have been full of "ROCstar Moments" for me. Have you seen those "Nailed It" photos on Pinterest, Facebook, et cetera? Yeah, kind of like those.

I pinned three ideas to try out with the kids. They looked like fun, and seemed to be simple enough:
  1. Kool-Aid Rainbow Slime
  2. Water Beads
  3. Fizzy Ice Cubes
SLIMY ATTEMPTS

First up, we tried the slime. In an effort to save money, I bought the generic fiber supplement rather than Metamucil. That was a mistake. I mixed the ingredients, microwaved it as long as the instructions said, and was left with pink water. No trace of slime. Oh yeah; who's a ROCstar?!?

Lesson Learned: When trying out a new activity from the web, link back to the original source if possible. Occasionally, the original lists an important note that the second-hand blogger did not carry over. 

Example: When making Kool-Aid Rainbow Slime, it is important to either buy Metamucil or a generic fiber supplement with psyllium as the active ingredient. No psyllium? You're simply left with colored water. Colored water = not nearly as much fun as colored slime.

WATER BEADS

Second, we tried to make water beads. These looked so awesome, I couldn't wait to try making them! On Growing a Jeweled Rose, these looked like fabulous, colorful, squish-able marbles. Here's what our water beads looked like:

Colorful and squish-able? Yes. Fabulous and marble-sized? Not so much.

We still had fun with them. I had bought two packages of tapioca pearls because I wasn't sure how much we would need for this misadventure. While I cooked one package, my four-year-old had fun playing with the uncooked package.
 
We scooped the cooked tapioca into bowls then added food coloring and different colors of Kool-Aid powder or sugar-free Jell-O. There wasn't a huge selection of Kool-Aid colors available, so I thought we'd give Jell-O a shot. (pun intended)
After they cooled off in the fridge for a bit, we started to play. TIP: Place a large drop cloth or plastic tablecloth in your play area, and keep a couple of old towels handy.
                                         
We added water so they were free-flowing, instead of gelatinous blobs.

You can store the Water Beads for up to three days in the fridge. However, once the colors are mixed together the beads look like a stand-in for brains in a zombie movie.
Lessons Learned: Follow the blog post and search for large, instant tapioca pearls. Small, non-instant ones take three times as long to boil. Plus they are miniscule.

NO-FIZZ CUBES

Lastly, we made a batch of Fizzy Ice Cubes. We mixed the water, baking soda, and spooned it into ice cube trays. Then we sprinkled different Jell-O powders on top and used a toothpick to mix in the colors.

The next day we popped the cubes out into a container of water and waited for the fizz…

There was no fizz.

I had lemons in the fridge and added a few slices to initiate a reaction. Nothing. So we added the water beads and just played until it looked like this:

Yes! Nailed it! I mean, doesn't that look like something you want your child sticking his or her little hand into, playing, and splashing?!? Definitely.

Determined, we tried once more. This time we poured the cubes right into a vinegar bath. We even spooned some extra vinegar on top of the cubes. Success!

TIP: Use a drop cloth or plastic tablecloth to protect your play area, and keep a few towels handy.

Lesson Learned: Fizzy Cubes (with baking soda) need vinegar in order to actually fizz. Duh! I knew that. After all, we only made a zillion volcanoes in the backyard last summer. Sheesh! Also, read directions carefully. Somehow I completely missed the "vinegar" part of the instructions. Oops.

I hope your adventures in Pinterest, crafts, and science experiments are much more successful. If not, Post a Comment and share your misadventures! As always, thanks for reading.

Tuesday, November 26, 2013

25 Quick & Easy Elf on the Shelf Ideas

If you have an Elf on the Shelf in your home, chances are you're always on the lookout for new and simple hiding places for your elf. Last year we had ROCmomma's 25 Days of SIMPLE Elf on the Shelf Ideas. This year, we're back with more! I have been pouring over Pinterest and blogs to come up with a 2013 schedule for our elf, Alvin.

Here is an easy breakdown of supplies you will need to follow this schedule.

WEEK 1:

  • December 1: art supplies, glue stick, sign that reads, "I missed you!"
  • December 2: Angry Birds toys (or other favorite toy set)
  • December 3: bathtub basketball nets (or other tub toys)
  • December 4: candy canes and ribbon to tie them together
  • December 6: white string and black paper to make a small eye patch
  • December 7: marshmallows, toothpicks, cotton balls, another toy/figure for a "snowball fight"
WEEK 2:
  • December 8: fishing pole (e.g., Let's Go Fishing game), Goldfish crackers
  • December 9: new ornaments, wrapped
  • December 10: Spider-man web (e.g., from a Lego set)
  • December 11: toy tractor, toy farm animals
  • December 12: dominoes
  • December 13: toy dinosaurs, string or ribbon
  • December 14: Christmas wrapping paper, tape, safety scissors
WEEK 3: 
  • December 15: favorite snack bag for each child
  • December 16: Lego fire truck (or other favorite toy)
  • December 17: Lego Star Wars ship (or other favorite toy)
  • December 18: child-size knife and fork, plate piled with Hershey's Kisses (or other favorite candy)
  • December 19: small washcloth, bowl, water, mini shampoo bottles
  • December 20: toilet paper roll
  • December 21: Christmas book, stuffed animals or other toys/figures
WEEK 4:
  • December 22: Christmas stocking
  • December 23: mixing bowl, flour, sugar, cookie sheet, packs of Mini Chips Ahoy
  • December 24: Reindeer Food (glitter & oatmeal) to sprinkle on the lawn
  • December 25: goodbye letter
Other materials to keep on hand for posing your Elf during the next few weeks include: 
  • glue dots
  • double-sided tape
  • twist-ties (the kind to close a plastic bag)
  • string
Check back throughout the next few weeks to check out pictures of our Elf in these poses.

One more thing! We are not using an Advent Calendar this year because I have a different idea. Our elf will hold a note each day of December instructing the kids to do a different holiday activity. For example, one says to make and decorate a gingerbread house. Another says to read a Christmas book. Each day is a different, simple activity to help us celebrate the season as a family.

If you would like to do the same, simply print these out on card stock, cut out the cards, and tuck one into your Elf's hands each night.


I hope you and your family enjoy these Elf on the Shelf ideas. There are some anti-Elf people out there, and that's okay. I just know that there is an expiration date on my kids' belief in Jolly Ol' Saint Nick. These few years when they believe in Santa Claus are short-lived and personally I would rather make the most of them, and watch my kids enjoy the magic. 

Please Post a Comment to share your Elf on the Shelf's favorite hiding spot! As always, thanks for reading.

Friday, October 25, 2013

How to Have an Amazing Spider-Man Birthday Party: Part 4

We hope you've been enjoying these ideas this week for an amazing Spider-Man birthday party. The activities you plan can make or break the party, so it's best to have a few extra tricks (or webs!) up your sleeve, just in case. Don't worry! We've outlined the party activities in great detail below, along with an extra activity idea and some modifications for an indoor party.

One of the things that became ingrained while I was student teaching was this: change the stimulus every 15 minutes, or else. The same holds true for a child's party. Below you'll find the activities are divided into 15-minute chunks, with a longer break allowed for lunch and cake. When you change things up often, the kids don't have time to get bored.

It is helpful to keep a shopping bag for each activity with all of the supplies needed. Or for activities with larger supplies, such as the boxes needed to "Rebuild the City," you may wish to keep them piled up with a tablecloth or old bed sheet covering them up. Go through the activities and supply lists ahead of time to organize everything. A few minutes of preparation in advance will do wonders in ensuring a smooth-running party.


Activities

11:00 - 11:15 a.m. - Free Play & Spider-Man Gear
Supplies needed: toys for free play or crayons and Spider-Man coloring sheets; Spider-Man masks, temporary tattoos, paper towels, spray bottle filled with water, small trash bag (for tattoo backing paper and used paper towels)

For almost any party, the first fifteen minutes should be free time to allow all your guests time to arrive. Have some toys out for the kids to play, or coloring pages and crayons.

We also used this time to get into character. Each child received a Spider-Man mask and Spider-Man tattoos to get us off to a great start.
ROCmomma TIP: Write each child's name on the inside of the Spider-Man masks before the party. This way you always know which mask belongs to whom throughout the party. Also, if the tattoos are connected on one sheet, it is helpful to cut them apart ahead of time and store in a baggie or small container.

11:15 a.m. - 12:00 p.m. Super-Hero Training Camp
Supplies needed: Spider-Man game, masking tape, rolls of toilet paper, lots of empty cardboard boxes, string, cones, tunnel, toss game, cans of silly string

Explain to the kids that Spider-Man is counting on each of them to become a super-hero and help save the city. In order to become a super-hero, they each have to complete the five activities in Super-Hero Training Camp.

Super-Hero Training Camp Activity #1: Practice using their spider-sense to play the Spider-Man game. This activity may be done indoors as well.

Pin Spider-Man on the Villains game was lots of fun for us. Unfortunately, it is no longer available, but there is another Spider-Man game available through Party City.

Super-Hero Training Camp Activity #2: Villain Wrap! Practice using their spider web to wrap up a villain. This activity may be done indoors as well.

Divide into teams of 3-4 and ask each team to choose someone to be the villain ("bad guy"). The other teammates will use the toilet paper as their spider web to wrap up the villain.

Super-Hero Training Camp Activity #3: Rebuild the City! The villains have destroyed the city, and Spider-Man is counting on each super-hero-in-training to help rebuild the city.

Divide into two teams; each person may only pick up one box at time. Bring the boxes to their team's area and stack them to see which team can build the tallest building.

ROCmomma TIP: For an indoor party, you may want to use ordinary blocks to recreate this activity on a smaller scale.

Super-Hero Training Camp Activity #4: Obstacle Course! Test your super-hero strength and spider-senses on this challenging course.

First, we went up the ladder or rock wall, then down the slide.
Next, we crawled under the spider web (yarn set up between two folding chairs).
Then we dodged the villains by weaving through the cones. (Supplies needed: soccer cones, garden stakes, and villains* printed on card stock and attached to the stakes with packaging tape)
Next we crawled through the tunnel.
And jumped over a few buildings (just take some boxes from Rebuild the City).
Last but not least, a bean bag toss to get a villain. (We had the game Toss Across. I printed out some villains* to attach to the game. There was a pre-made toss game on Amazon but with shipping charges, this was way less expensive.)

ROCmomma TIP: Indoor parties CAN have an obstacle course. You can still set up a course where the kids crawl under the web, weave (walking) between cones/villains, crawl through a tunnel (or under a tall chair), jump over buildings, and hit a villain on the toss game.

Super-Hero Training Camp Activity #5: Zap the Villains! To finish their training, these super-heroes must use their own spider-webs to defeat the villains.
ROCmomma TIP: Remove the seal around the caps ahead of time. While you explain the rules to the kids (e.g., do not spray faces), have one adult shaking the cans and have a second adult spread out the cones with the villains (from the obstacle course).


ROCmomma TIP: You may be able to get the kids to help pick up the silly string by challenging them to see who can make the biggest ball out of the string!

12:00 - 12:30 p.m. - Lunch & Cake
Get the kids seated, pass around the wet wipes, and serve lunch. We sang "Happy Birthday" and served cupcakes and ice cream immediately afterward. It's much easier to get the kids seated once, rather than have them play, eat, play, eat.

This is also a great time to take pictures of all your guests. Walk around and ask each child to make his or her best Cupcake Face. I like to print the pictures and slide one into each thank-you card so that our guests have a little something to remember all the fun they had at the party.

12:30 - 1:00 p.m. - Piñata & Free Play
Supplies needed: piñata (filled ahead of time; we used Spider-Man tattoosSpider-Man stickersmini bottles of bubblesspider rings, plastic spiders, and Spider-Man fruit snacks), string to hang the piñata, baseball bat (optional), goodie bags for each child to collect their loot.

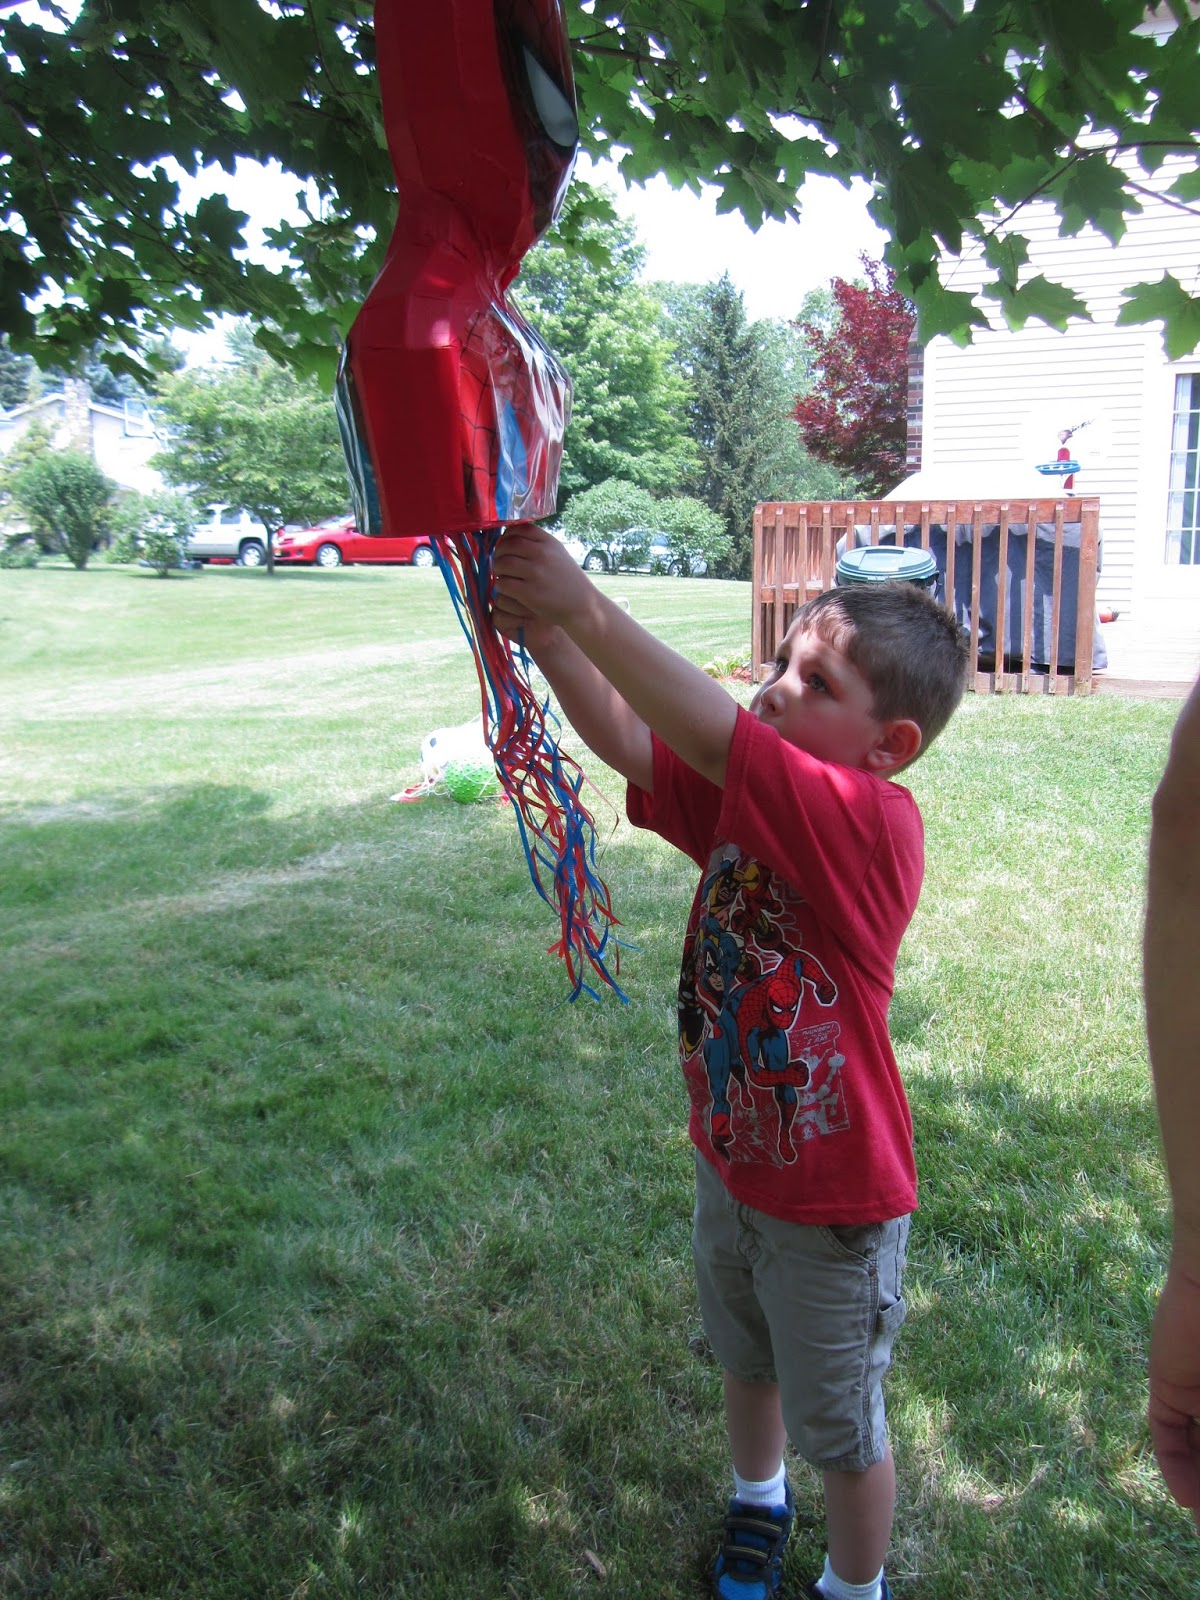
We ended the activities with a Spider-Man piñata found at Party City. The pull-string piñatas are a great option since they can be used indoors or out. We have also found that injuries tend to happen when you hand a baseball bat to a blind-folded kid. True story.


After the piñata, the kids went back to free play. However, if you'd like to fill the remaining time with a more structured activity, try a good old scavenger hunt (below).

Bonus Activity: Spider Hunt
Supplies needed: plastic spiders or spider rings (Note: Party City has bins of small items and we were able to find spiders. You may also want to try Michael's - they have a section with bins of small toys and sometimes have plastic animals and insects.)

Simply hide the spiders before the party. Explain to the kids that some radioactive spiders have escaped Spider-Man's lab and he needs their help to recover them all. The kids can add the spiders they find to their goodie bag.

ROCmomma TIP: For outdoor parties, you may wish to place the spiders in snack-sized plastic bags or to tie bright ribbon to the spiders. This will help kids identify the prize and avoid picking up an actual garden critter.


1:00 p.m. - The Party Is Over
Say thank you, and say good-bye, because your party is done! Make sure they have their goodie bags and masks, and send the kids on their merry way. Then help yourself to a post-party cocktail (or a cupcake) to celebrate your hard work. YOU DID IT!


* FREE PRINTABLES: Here are the printables I created for this party in PowerPoint for Mac. Here is another pdf version, in case you have trouble opening the PowerPoint version. Please note that I do not own these images, nor do I have permission to sell them. These are FREE and are for your personal use and convenience only.


We hope these ideas have been helpful, and that you have a truly AMAZING birthday party for your child! Be sure to check out the rest of the How to Have an Amazing Spider-Man Birthday Party series for more ideas:

As always, thanks for reading!

Thursday, October 24, 2013

How to Have an Amazing Spider-Man Birthday Party: Part 3

Now that you have your invitations, thank you cards, decorations, and super-hero attire, you are ready to think about goodie bags and party food. Dig in and enjoy these ideas for your amazing Spider-Man birthday party!

Goodie Bags

Some of our guests have severe food allergies, so we tried to avoid most edible treats for the piñata and goodie bags.

Spider-Man treat bags were filled with a Spider-Man book and then the kids added more after the piñata was broken. The piñata was filled with Spider-Man tattoosSpider-Man stickersmini bottles of bubblesspider rings, plastic spiders, and Spider-Man fruit snacks.

Party Food
The tables were set with plastic cups filled with fruit bars that had Spider-Man faces* glued onto the package, so the kids could help themselves. We also set up a cooler with juice boxes and a beverage dispenser with ice water.

For lunch we had a sheet pizza delivered, plus had a few sandwiches of SunButter and jelly made for anyone who did not like pizza or is lactose-intolerant. SunButter is made from sunflower seeds, is peanut-free, and is made in a facility that is peanut-free, so it is safe for those with tree-nut allergies. We also offered cups of grapes.

ROCmomma TIP: Wash the grapes ahead of time, remove from stems, and place in small plastic cups the night before or morning of the party. Place cups in a large tray and keep, loosely covered, in the refrigerator until party time. This makes serving the kids a breeze!


Dessert was cupcakes and ice cream.

ROCmomma TIP: The day before the party, scoop ice cream into cupcake liners. Place in a large tray and store, loosely covered, in the freezer until party time.  We used Spider-Man cupcake liners. This time-saving tip makes it quick, easy, and mess-free to serve ice cream to a bunch of hungry kids!
We used the same Spider-Man cupcake liners for the cupcakes. To keep them allergen-free, we used Cherrybrook Kitchen chocolate and yellow cake mixes and vanilla frosting mix (to accommodate a dairy allergy, we used dairy-free vegan margarine in place of the margarine for the frosting).
Spider-Man's colors may be red and blue, but my son's favorite colors are green and blue. The cupcake frosting reflects his choice of colors, and were decorated using Wilton decorating icing tubes in black, red, blue, and white.

To make the spiders, use the decorating tubes to make a circle just above the center, and then a long diamond below. Draw two bent lines going up and two going down on each side to make the legs.

To make the spider webs, use the decorating tubes to write the number of the birthday you are celebrating. Draw lines at the 12:00, 3:00, 6:00, and 9:00 positions, and then draw one line between each of those (8 lines, all together). Draw the scalloped edge of the web by connecting the outer point of each line to the next line. Repeat the same types of lines to surround the number in the center.

To make the Spider-Man faces, you might want to purchase cake decorating pieces for this purpose instead of attempting it yourself. Unless you are really skilled with decorating tubes. I am not so skilled, so I gave up on these after four attempts. At least they still tasted yummy.


* FREE PRINTABLES: Here are the printables I created for this party in PowerPoint for Mac. Here is another pdf version, in case you have trouble opening the PowerPoint version. Please note that I do not own these images, nor do I have permission to sell them. These are FREE and are for your personal use and convenience only.


Have fun filling your goodie bags and designing your party menu! Be sure to check out the rest of the How to Have an Amazing Spider-Man Birthday Party series for more amazing ideas:

As always, thanks for reading!

Wednesday, October 23, 2013

How to Have an Amazing Spider-Man Birthday Party: Part 2

If your child is a Spider-Man fan, you're in luck! This week's series features everything you need to throw an amazing DIY Spider-Man birthday party.

Yesterday we featured the invitations and thank you cards. Today is a closer look at preparing for the day of the party: the decorations and the party attire.

Decorations
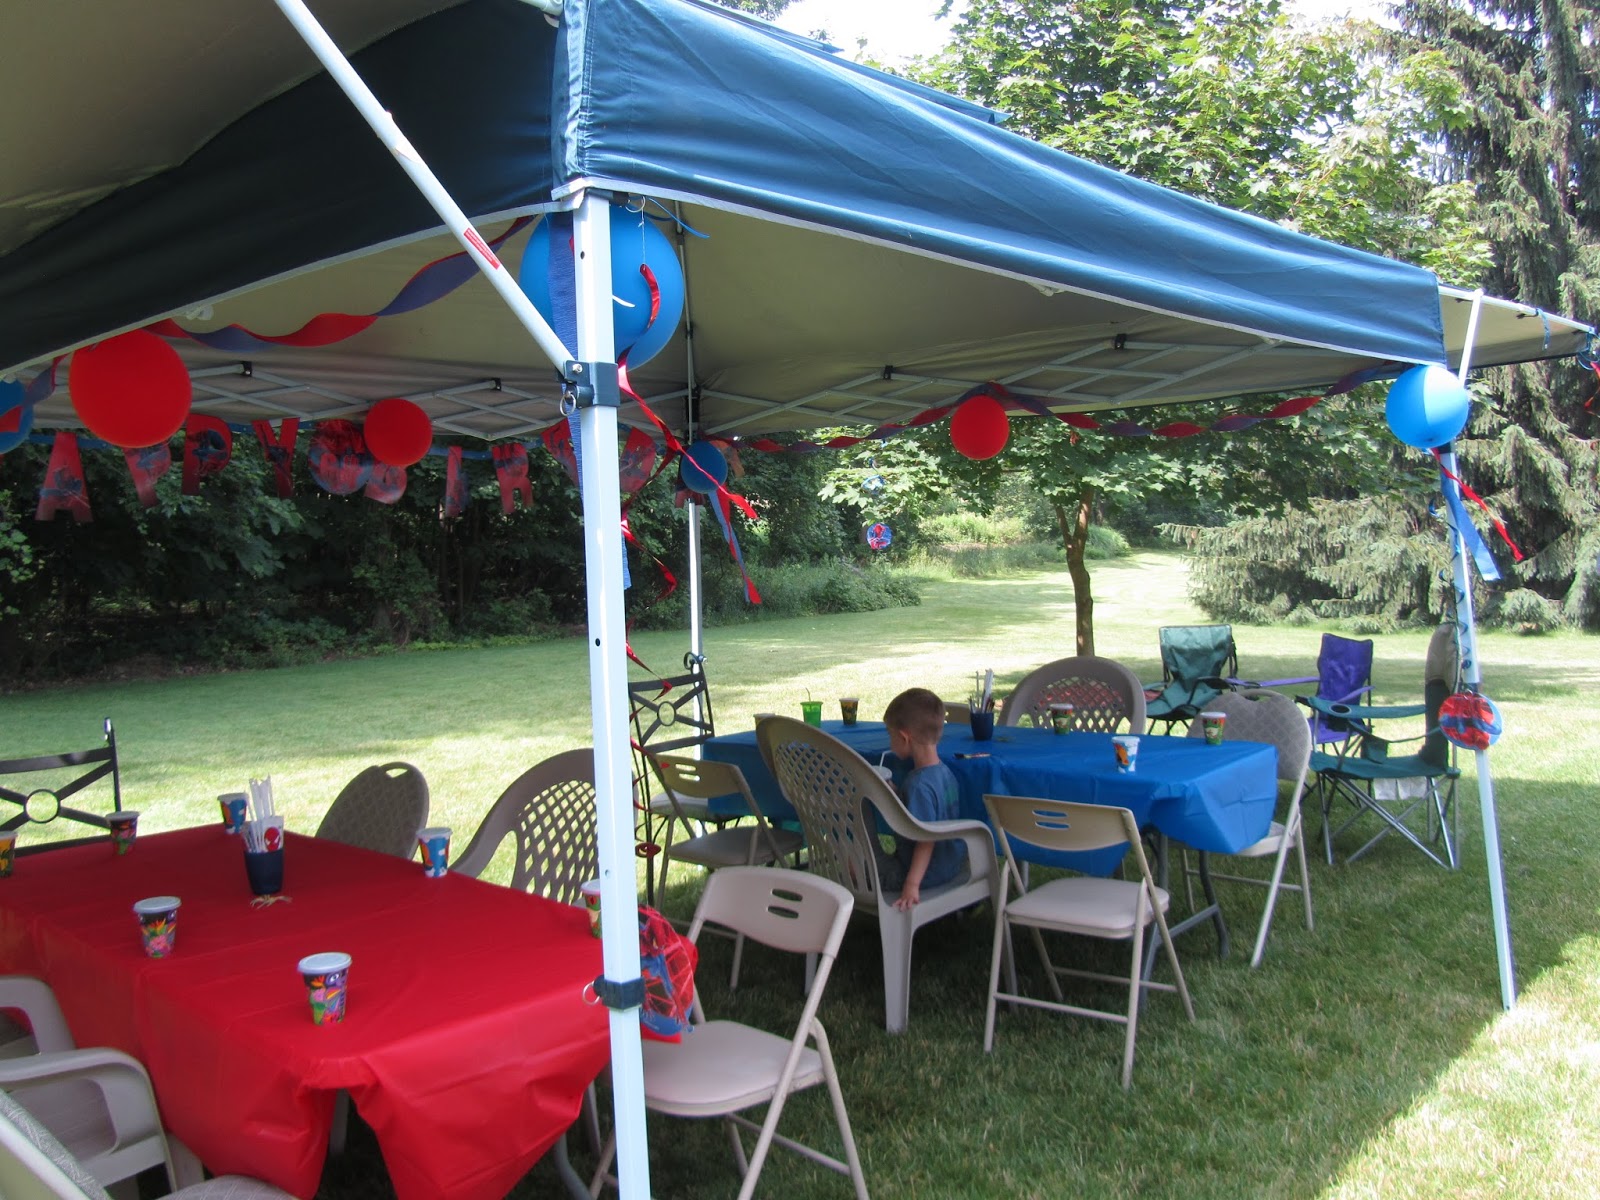
We set up a tent in the backyard and decorated with a Spider-Man banner, red and blue balloons, and the contents of a Spider-Man decorating kit.
The tables were covered in red and blue plastic tablecloths from Dollar Tree.
Since the party was in the backyard, we created signs* to lead everyone around back.

We had lots of foam sheets in our craft bins, plus some garden stakes in the garage. We printed the signs* on white card stock, trimmed and attached them to foam sheets along with some Spider-Man stickers. Then we attached the garden stake to the back with packaging tape and tied a red or blue balloon to each stake.

Attire

As the host family, it is mandatory to be dressed in super-hero shirts. Capes are optional. This is a great time to get a second use out of old Halloween costumes! No costumes on hand? No problem. We have had luck in both Old Navy and Target to find super-hero t-shirts. The birthday boy wore Spider-Main (of course!), ROCpoppa wore Captain America, and ROCmomma wore Wonder Woman. Little brother asserted his independence and chose a Toy Story shirt instead. Oh well; we tried.


* FREE PRINTABLES: Here are the printables I created for this party in PowerPoint for Mac. Here is another pdf version, in case you have trouble opening the PowerPoint version. Please note that I do not own these images, nor do I have permission to sell them. These are FREE and are for your personal use and convenience only.


Have fun decorating and finding your favorite super-hero on a t-shirt! Be sure to check out the rest of the How to Have an Amazing Spider-Man Birthday Party series:

As always, thanks for reading!

Tuesday, October 22, 2013

How to Have an Amazing Spider-Man Birthday Party: Part 1

At the end of my son's sixth birthday party, one of the ROCpoppas commented, "This was great! No one has birthday parties like this anymore."

It's true; lately most kids' birthday parties seem to be at a venue, rather than at home. And I get it: someone else does the set up and clean up, the activities are already planned, and sometimes the goody bags are even done for you. How can you pass up all that?

But if you enjoy working with your child to pick the theme and throwing a personalized party, but you don't enjoy all the planning, I can help. Here are ROCmomma's tips and tricks for a truly Amazing Spider-Man Birthday Party!

Invitations

The Easy Method: 
Type the party information* four times on one page (postcard or quarter-card style) and print on card stock. Cut each sheet into quarters and let your kid decorate the other side with Spider-Man stickers.

The More-Time-On-Your-Hands Method:
Purchase red, black, and blue card stock, spider-web themed scrapbook paper (Halloween section), white gel pen. Print party information* on card stock, print Spider-Man faces* on red card stock, cut out Spider-Man faces and fill in eyes with white gel pen. Cut all pieces and assemble invitations with your adhesive of choice.

For each card:
  • blue card stock: 4 1/4" x 5 1/2"
  • spider web scrapbook paper: 4" x 5 1/4"
  • red card stock: 4 1/4" x 1/2"
  • black card stock: 4 1/4" x 1/4"
  • Spider-man face* (printed on red card stock; cut out with scissors; fill in eyes with white gel pen)
  • party information* (printed 4 per page on card stock; cut page into quarters; trim as necessary)
  • adhesive of choice (such as glue stick, double-sided tape, adhesive runner, etc.)

I gave the birthday boy all the cut pieces and some glue sticks, and he assembled the cards.

  1. Center and glue the spider web paper onto the blue card stock.
  2. Center and glue a red strip across the card.
  3. Center and glue a black strip over the red strip.
  4. Center and glue a Spider-Man face on top of the strips.
  5. Turn the card over.
  6. Center and glue the party information onto the back.

While we were at it, we made the thank you cards at the same time.
For each card:
  • white card stock: 8 1/2" x 5 1/2"
  • red card stock: 4" x 5 1/4"
  • spider web scrapbook paper: 1 1/2" x 5 1/4", torn along one long edge
  • Spider-Man comic strip image*, printed multiples per page, and torn to fit: 1 1/4" x 4 3/4"
  • your favorite "thank you" stamp
  • black ink pad
  • adhesive of choice (such as glue stick, double-sided tape, adhesive runner, etc.)
To assemble:
  1. Fold the white card stock in half, to 4 1/4" x 5 1/2"; set aside.
  2. Ink your "thank you" stamp with black ink and stamp along the right side (long edge) of the red card stock.
  3. Center and glue the stamped red card stock onto the front of the folded white card.
  4. Align the spider web paper strip along the left edge of the red card stock, and adhere.
  5. Center and glue the comic-strip image onto the spider web paper.

* FREE PRINTABLES: Here are the printables I created for this party in PowerPoint for Mac. Here is another pdf version, in case you have trouble opening the PowerPoint version. Please note that I do not own these images, nor do I have permission to sell them. These are FREE and are for your personal use and convenience only.


Have fun making your invitations and thank you cards! Be sure to check out the rest of the How to Have an Amazing Spider-Man Birthday Party series:

As always, thanks for reading!

Thursday, October 17, 2013

Family Halloween Fest

If you have kids and live in the Rochester area, you must check out the Family Halloween Fest on Sunday, October 27.

The festivities take place from 2 - 5:00 p.m. in the St. John Fisher College Field House, 3690 East Avenue, Rochester, NY. Admission is free; simply bring one canned good per person to benefit the Pittsford Food Cupboard. There are hay rides outside, but the other activities are all indoors.

After turning in your canned goods, trick-or-treat down the corridor and into the gym for one amazing, spooktacular Halloween party.
Trick-or-treating down Sesame Street
(2012 theme)
There are carnival games to play,


sugar cookies to decorate,


a coloring contest,
refreshments, entertainment, and a costume parade.
There's a giant spider in the gym!
Kids can even have their picture taken with local heroes.
This event has become one of my favorite ways to celebrate the Halloween season with my family. Each year, I am awe-struck by the talent and dedication of all the volunteers who work so hard to pull this event together. So, grab your costumes and your canned goods, and we'll see you at Family Halloween Fest on October 27th.

Be sure to Post a Comment and tell us the part your kids liked best. As always, thanks for reading.
Blogging tips